
How to Zoom in Photoshop: A Step-by-step Guide
![]() by Fabio Peters
by Fabio Peters
In this comprehensive guide, we will explore the world of zooming in Adobe Photoshop. We will equip you with the knowledge and techniques you need to harness the full potential of this essential tool. From the basics of using the Zoom Tool and keyboard shortcuts to advanced techniques for precise zooming, we’ve got you covered.
We’ll explore the ins and outs of navigating while zoomed in, as well as essential preferences and settings to tailor your Photoshop experience. And if you ever find yourself stuck or frustrated, don’t worry – we’ve got troubleshooting tips to help you overcome common zooming issues.
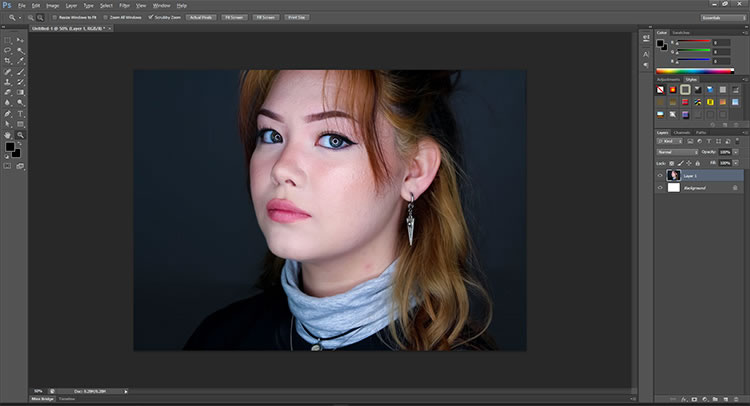
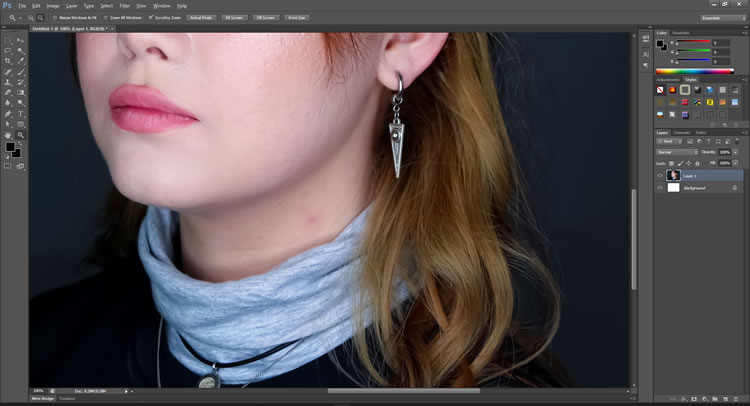
When it comes to wielding the powers of Adobe Photoshop, the artistry lies in the details. In the vast realm of digital design, the ability to zoom in and out gracefully can be the fine line between a good image and an exceptional masterpiece.
How to Zoom in Photoshop?
Zooming is the digital magnifying glass that lets you scrutinize, refine, and perfect every pixel of your creation. Whether you’re an aspiring graphic designer, a seasoned photographer, or simply a creative enthusiast, mastering the art of zooming in Photoshop is an indispensable skill that can elevate your work to new heights.
Think about the last time you worked on an image in Photoshop. Perhaps you were retouching a portrait, removing imperfections, or adjusting colors. Maybe you were designing a captivating poster, adding intricate details to typography. Or, you might have been composing a breathtaking landscape, where even the tiniest details matter.
In each of these scenarios and countless others, the ability to zoom in with precision is not just beneficial; it’s essential. Zooming helps you focus on specific areas, make accurate edits, and achieve that level of perfection that sets your work apart.
So, if you’re ready to elevate your Photoshop skills and unlock the full potential of your creative vision, let’s dive into the world of zooming in Photoshop together. Get ready to zoom in, zoom out, and zoom to perfection!
Zooming Basics
Before we dive into the more advanced techniques, let’s start with the basics. Zooming in Photoshop is as easy as it gets.
We’ve all used the classic method: holding down the “Ctrl” (or “Cmd” on Mac) key and scrolling with the mouse wheel.
This allows for a smooth, continuous zoom, making it perfect for quickly assessing and navigating through your canvas.
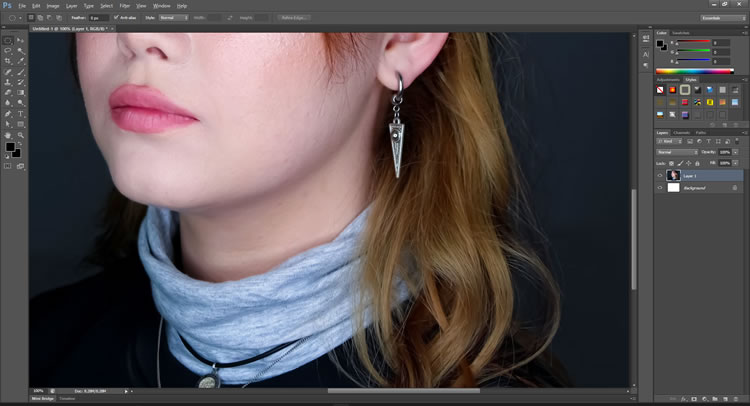
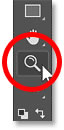
Now, if you prefer a more “click and zoom” approach, the zoom tool is your best friend. You can find it in the toolbox on the left, shaped like a magnifying glass.
Simply click on your canvas to zoom in, and then hold down the “Alt” (or “Option” on Mac) key while clicking to zoom out.
It’s quick and easy, but it’s only scratching the surface of what Photoshop’s zoom capabilities have to offer.
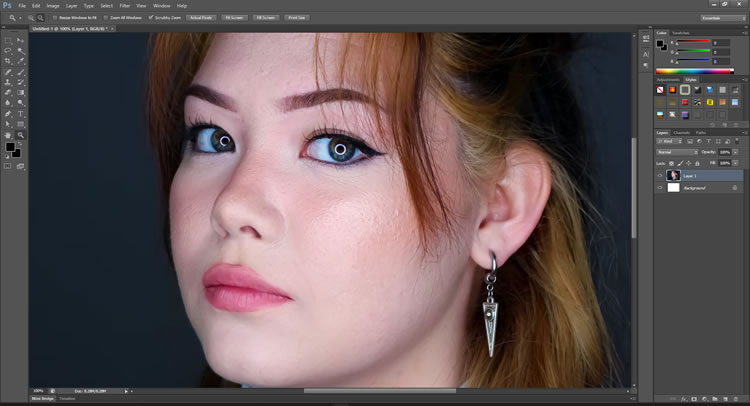
Zoom Levels
Most web developers know how to zoom in to get a closer look at their design or artwork. But did you know that you can zoom out further to get a wider perspective of your work?
Simply press “Ctrl” (or “Cmd” on Mac) and the minus key (“-“) to zoom out. If you want to zoom back in, press “Ctrl” (or “Cmd” on Mac) and the plus key (“+”). These shortcuts are the quickest way to adjust your zoom level.
As a web developer, you’ll often find yourself working with high-resolution images, and sometimes, it’s necessary to scrutinize your work down to the pixel level.
This is where “Actual Pixels” come into play. It’s the real deal, displaying your image at a 1:1 scale. To access it, simply go to “View” in the top menu and select “Actual Pixels.”
Now, you can examine your design in its unaltered glory.
Hand Tool
While you’re zoomed in, the Hand Tool is indispensable for navigating around your canvas. You can access it by pressing and holding the “Spacebar.”
This allows you to drag your canvas and explore different areas while maintaining your zoom level.
It’s like you’re panning across a map, and it’s incredibly helpful for zeroing in on details or comparing different parts of your image.
Here’s a neat trick: If you’re in the middle of another tool (like the brush or the eraser) and you need to use the Hand Tool quickly, just press and hold the “Spacebar” without switching tools.
This temporary switch to the Hand Tool lets you move around your canvas and get back to your main tool once you release the “Spacebar.” It’s a real time-saver when you’re in the zone.
Marquee Zoom
Sometimes, you don’t want to zoom in randomly; you want to zero in on a specific area. That’s where the Marquee Zoom comes into play.
Select the Marquee tool from the toolbox on the left, create a selection around the area you want to zoom in on, and then right-click.
Choose “Zoom In” from the menu, and Photoshop will magnify the selected region to fill your screen.
This feature is incredibly useful when you’re fine-tuning details or focusing on a particular part of your web design.
Navigating Layers with Zoom
Web developers often work with complex layouts, and keeping track of different layers is a crucial part of the job.
The good news is that you can use the zoom tool to your advantage in layer management. When you’re in the Layers panel, right-click on a layer and choose “Zoom to Layer.”
This nifty feature zooms in on the selected layer, making it more accessible for editing. It’s a small trick, but it can save you a lot of time in the long run.
Zooming to a Specific Percentage
Sometimes, you need to work at a specific zoom percentage. Maybe you want to ensure that an element on your website design is pixel-perfect at 300%, or perhaps you need a closer look at 25%.
To achieve this, go to the bottom of the document window in Photoshop, where you’ll find a zoom percentage box.
Click on it, type in the percentage you desire, and press Enter. Photoshop will instantly adjust the zoom level accordingly.
This is a precise and practical way to work, especially when dealing with responsive web designs.
Bonus Tips
Now that we’ve covered the essentials, let’s dive into some advanced techniques and hidden gems that will truly make you a zooming expert in Photoshop:
Use the Scroll Wheel
This tip might not be as well-known as it should be. When you’re using a tool other than the Zoom tool and you want to zoom in or out, you don’t need to switch to the Zoom tool.
Simply press and hold “Alt” (or “Option” on Mac) and then scroll your mouse wheel up or down.
This will temporarily activate the Zoom tool, allowing you to zoom in and out while keeping your current tool active. It’s a game-changer when you’re in the middle of detailed work.
Scrubby Zoom
This handy feature allows you to zoom in and out by scrubbing your cursor left or right. To use it, simply hold down the “Ctrl” (or “Cmd” on Mac) key and hover your cursor over the Zoom tool in the toolbox.
You’ll see a little magnifying glass icon next to your cursor, indicating that you’re in Scrubby Zoom mode. Now, click and drag your cursor to the right to zoom in or to the left to zoom out.
It’s a fast and intuitive way to zoom, especially if you have a graphics tablet.
Zooming to 100%
While you’re zoomed in at various levels, double-click on the Zoom tool in the toolbox, and Photoshop will instantly set the zoom level to 100%.
This is incredibly handy for checking your design at its actual size, especially when working on responsive web designs or checking image details with precision.
Conclusion
Mastering the art of zooming in Photoshop is an invaluable skill for web developers. It allows you to fine-tune your designs, navigate through intricate layouts, and ensure pixel-perfect results.
From the basics of zooming to the advanced techniques and hidden gems, you’ve learned how to zoom like a pro.
As a web developer, your ability to work effectively in Photoshop directly impacts the quality of your web designs.
By becoming a zooming expert, you’ll not only save time but also deliver exceptional results that will set you apart in the competitive world of web development.
So, keep practicing, experiment with these techniques, and you’ll soon find yourself seamlessly moving through Photoshop with the authority and experience of a true web development pro.
Editorial Process:
The reviews on this site are crafted through diligent research, collecting expert insights, and drawing from genuine, real-world experience. You can learn more about our editorial process here.
It’s worth noting that certain links within this article may be affiliate links. This means that if you choose to purchase a paid plan through these links, we may receive compensation at no extra cost to you. Rest assured, these are products and services that we have personally tested, used, and wholeheartedly endorse. We want to emphasize that our website is not intended to offer financial advice. Your trust and satisfaction are our top priorities.

